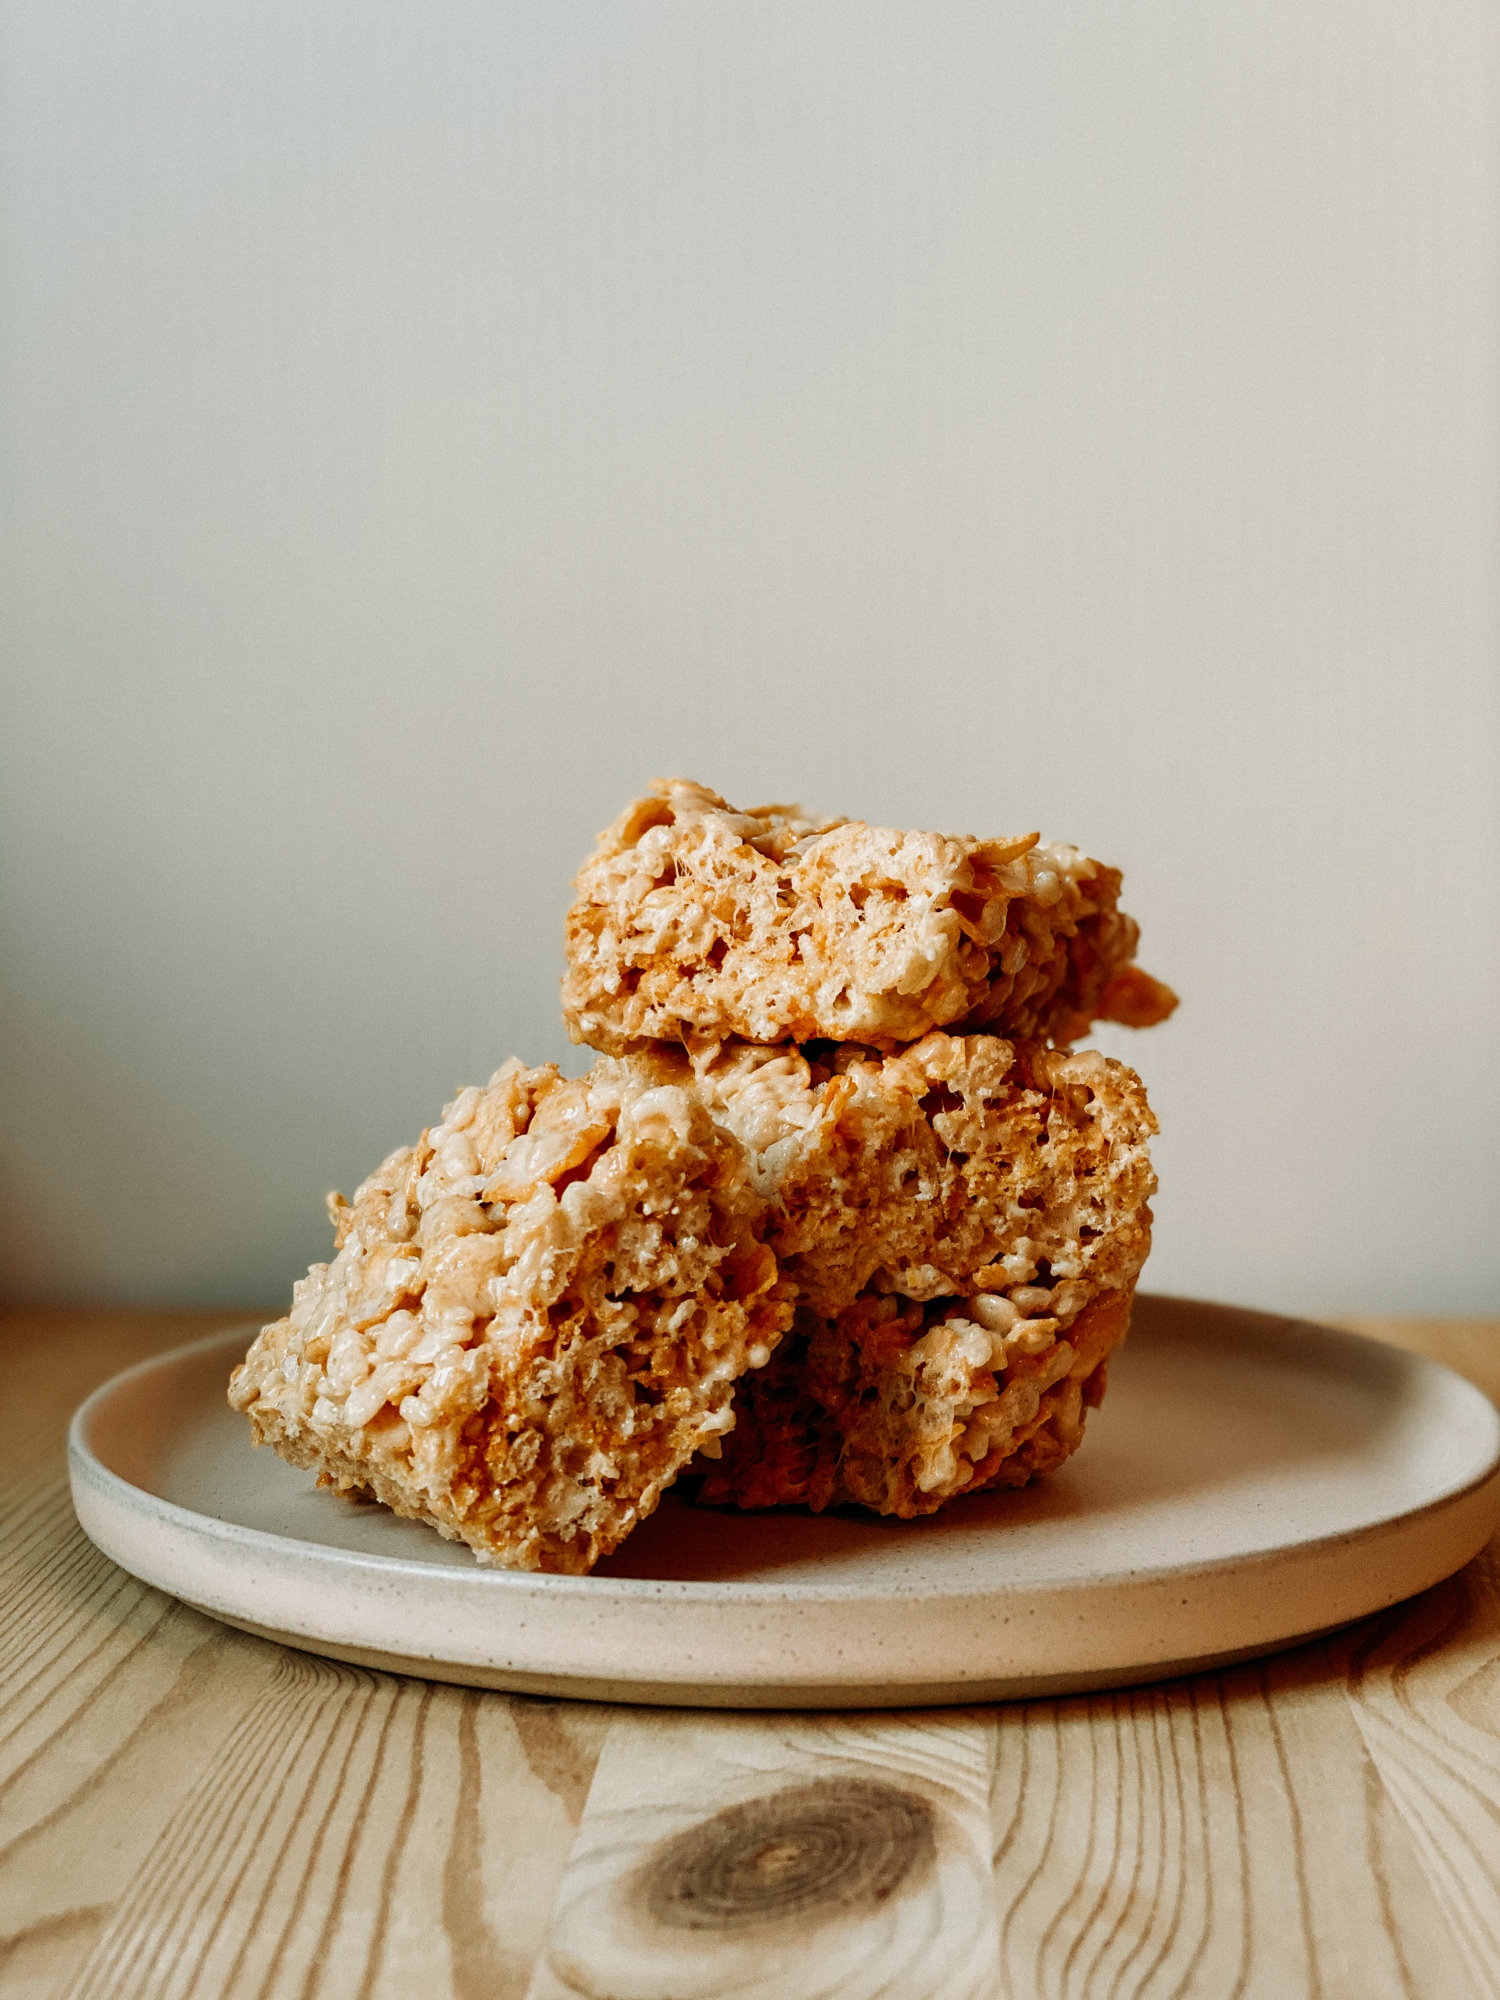
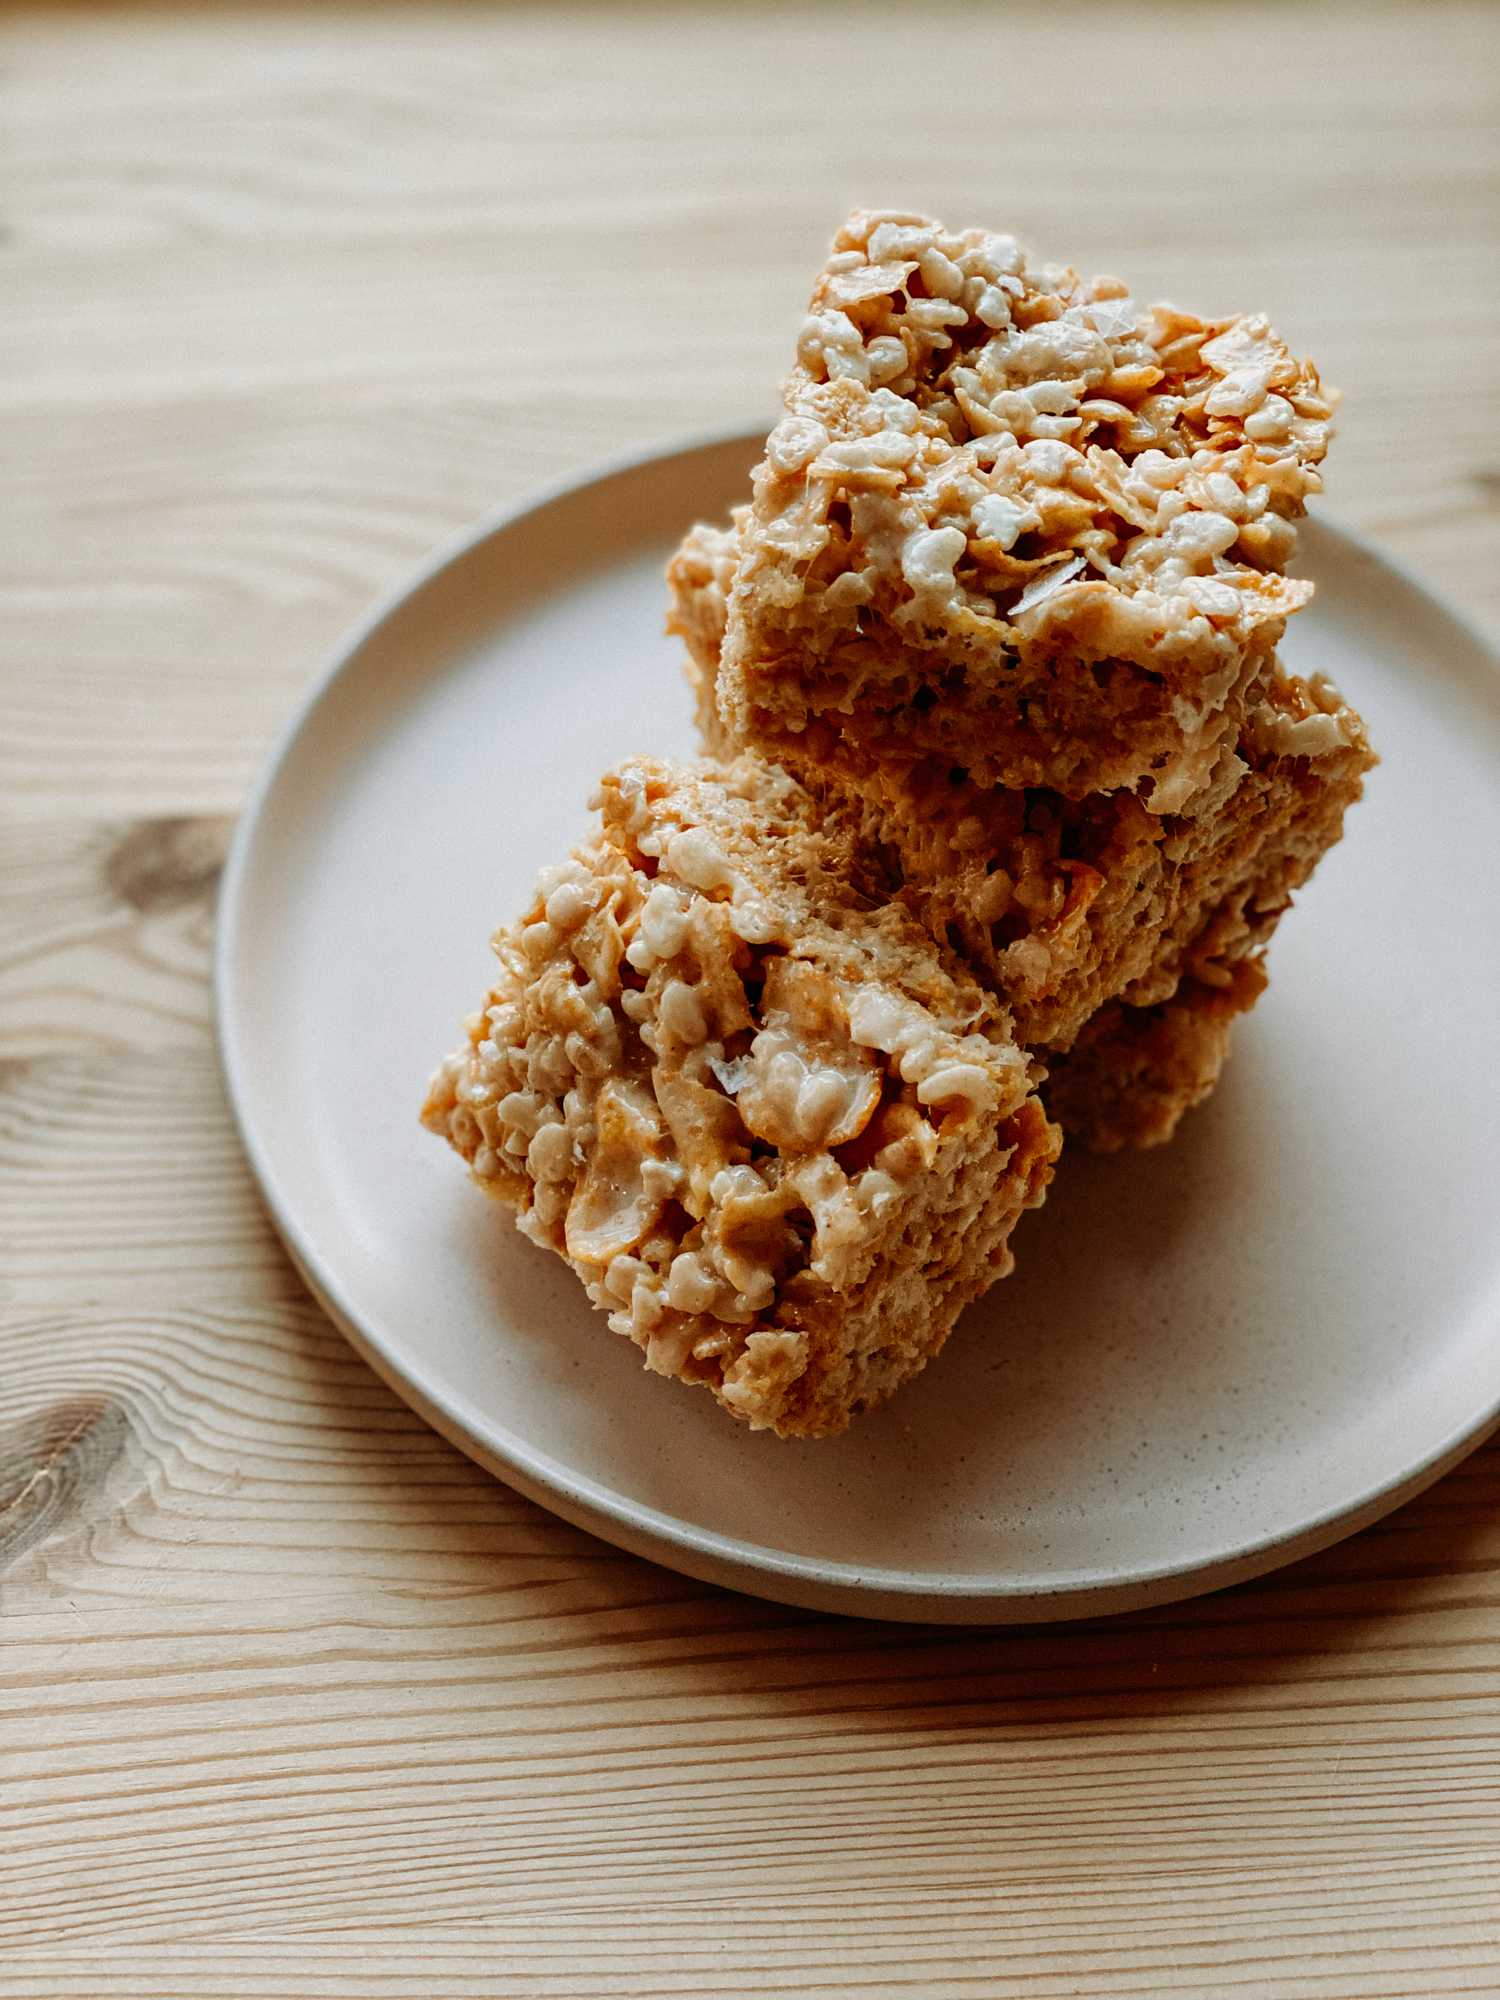
Salty, buttery, sweet, crispy magic
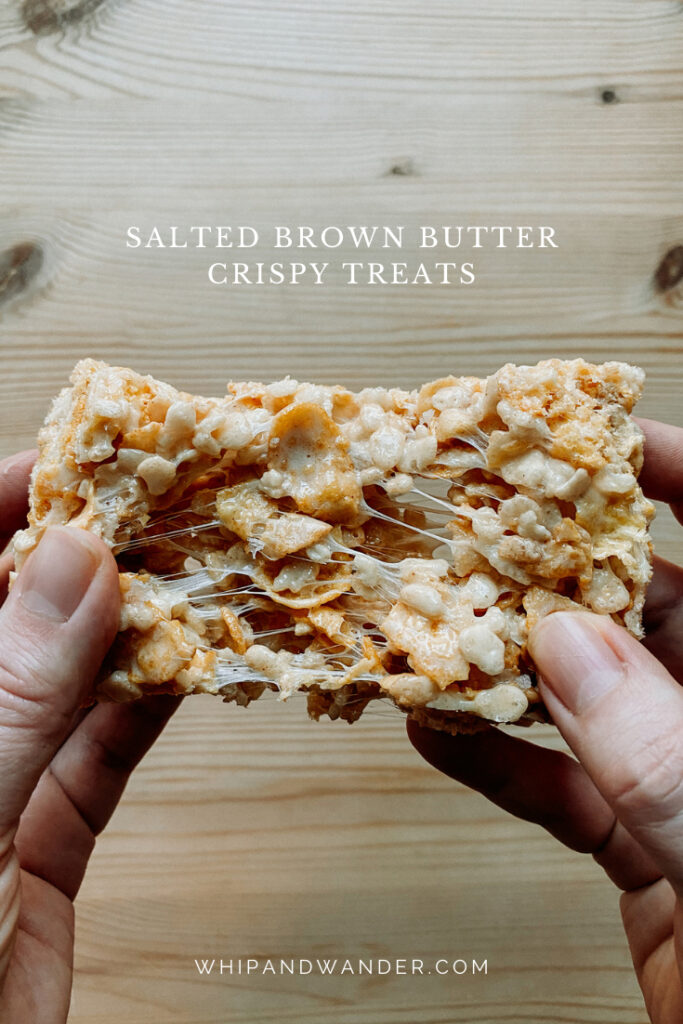
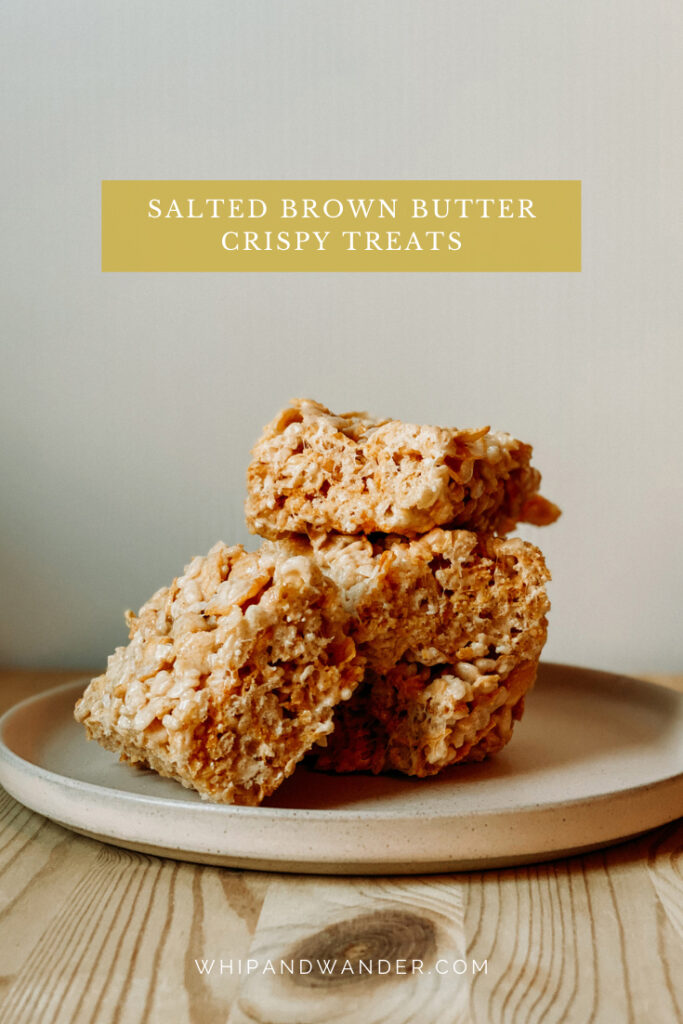
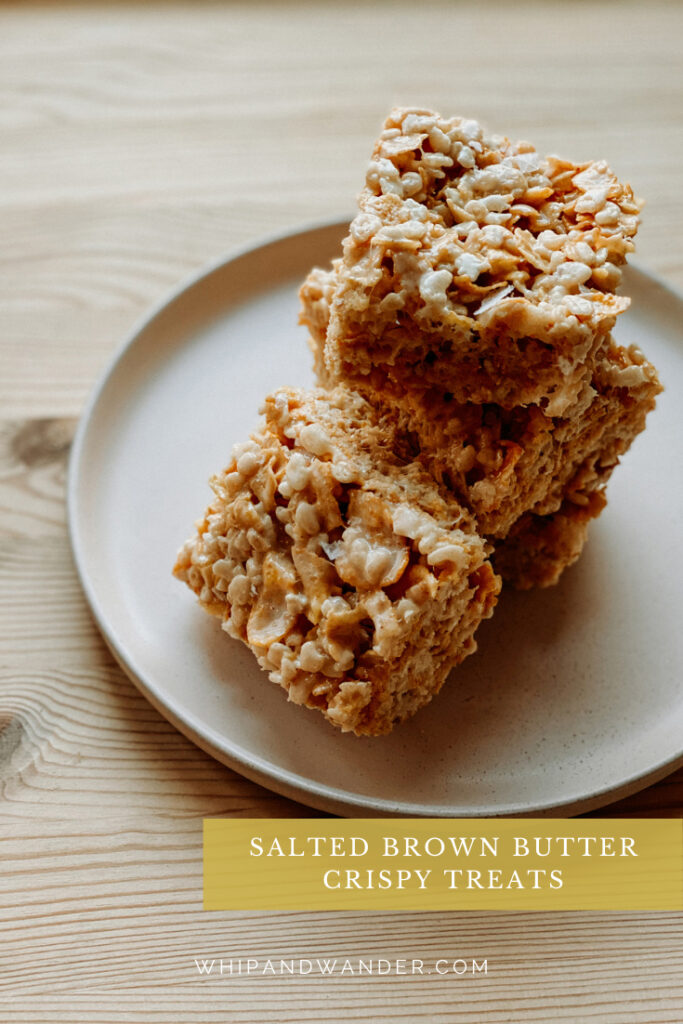
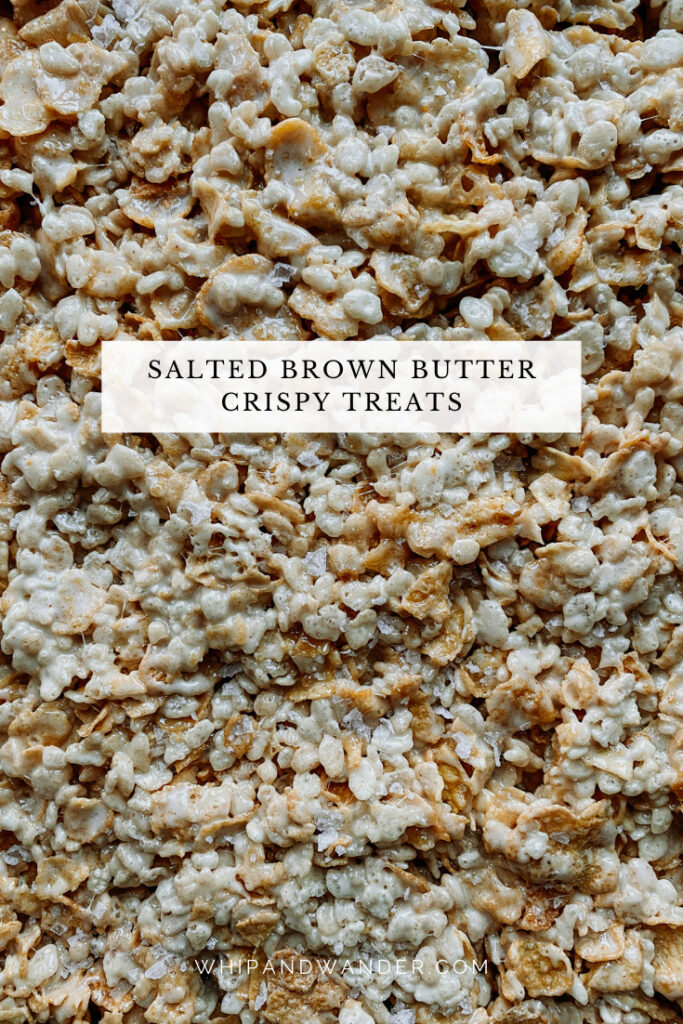
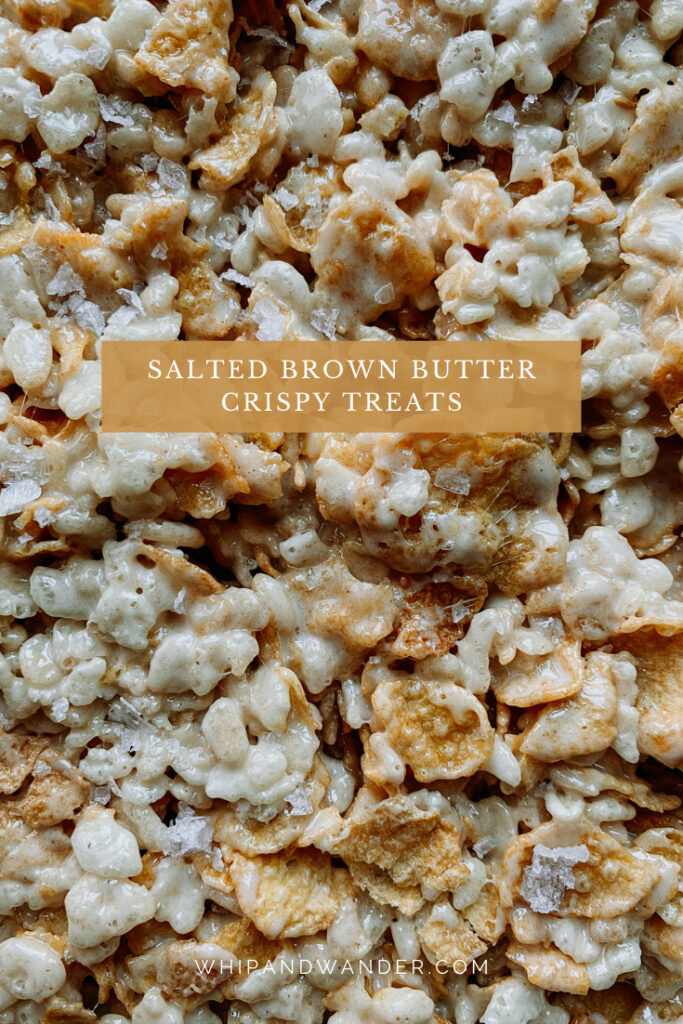
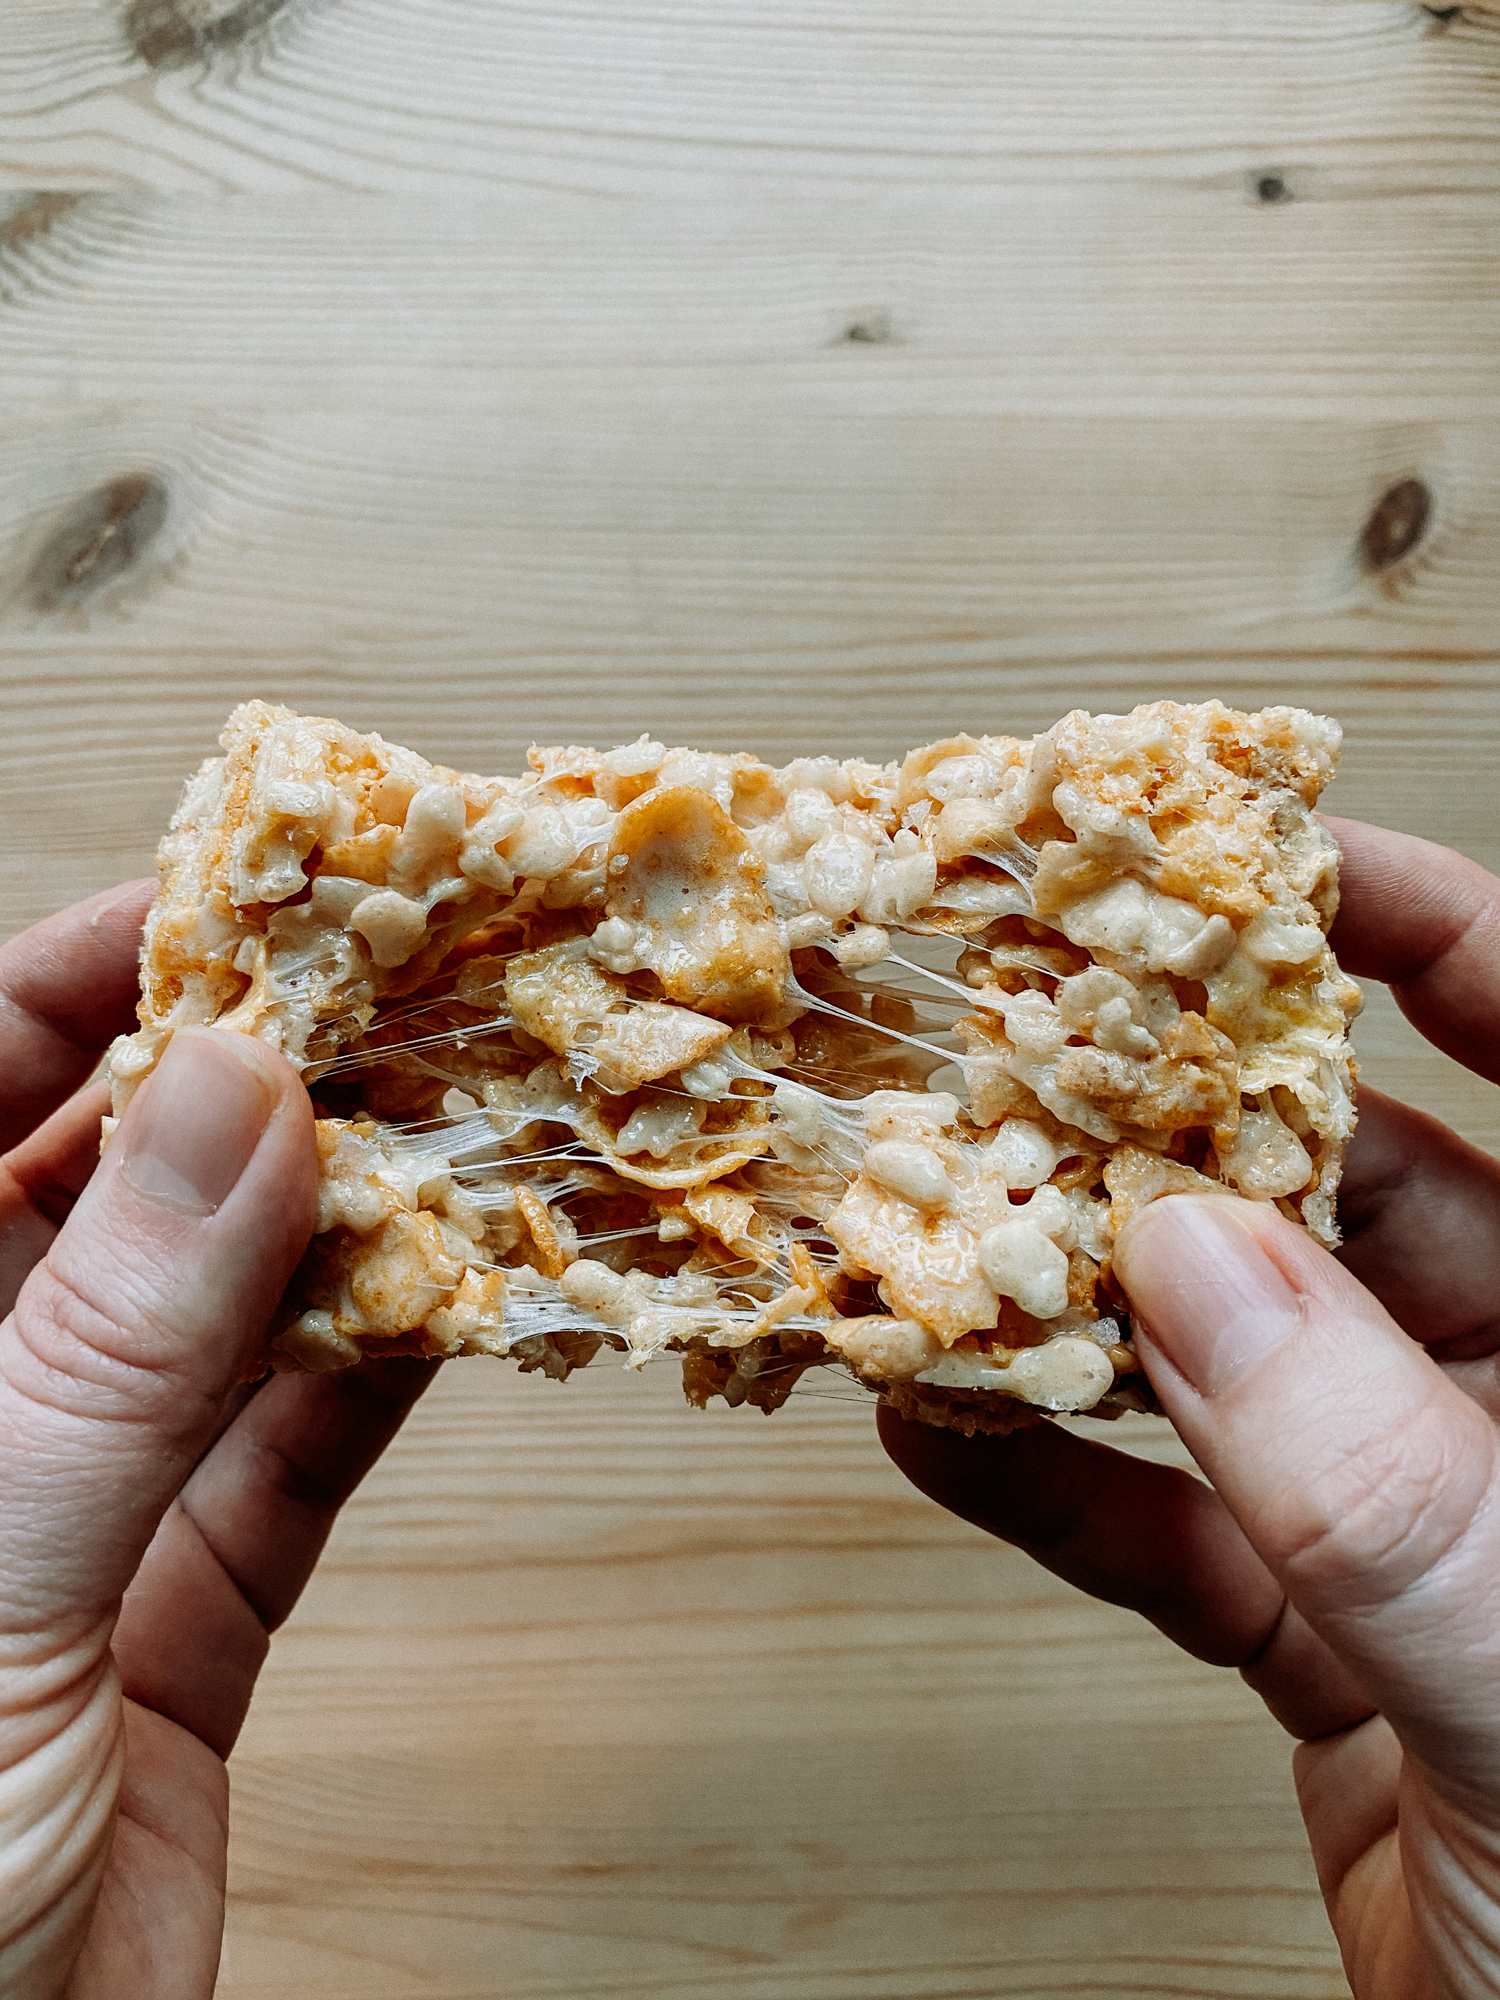
These Salted Brown Butter Crispy Treats are a major upgrade from the classic marshmallow treats of my childhood. Utilizing both rice crisp cereal and cornflakes, these crispy treats have a salted brown butter marshmallow base and a bit of extra flaky salt on top to finish -- The resulting treat is salty, buttery, sweet, and crispy magic. The best part is these treats will only take you approximately 20 minutes to make!
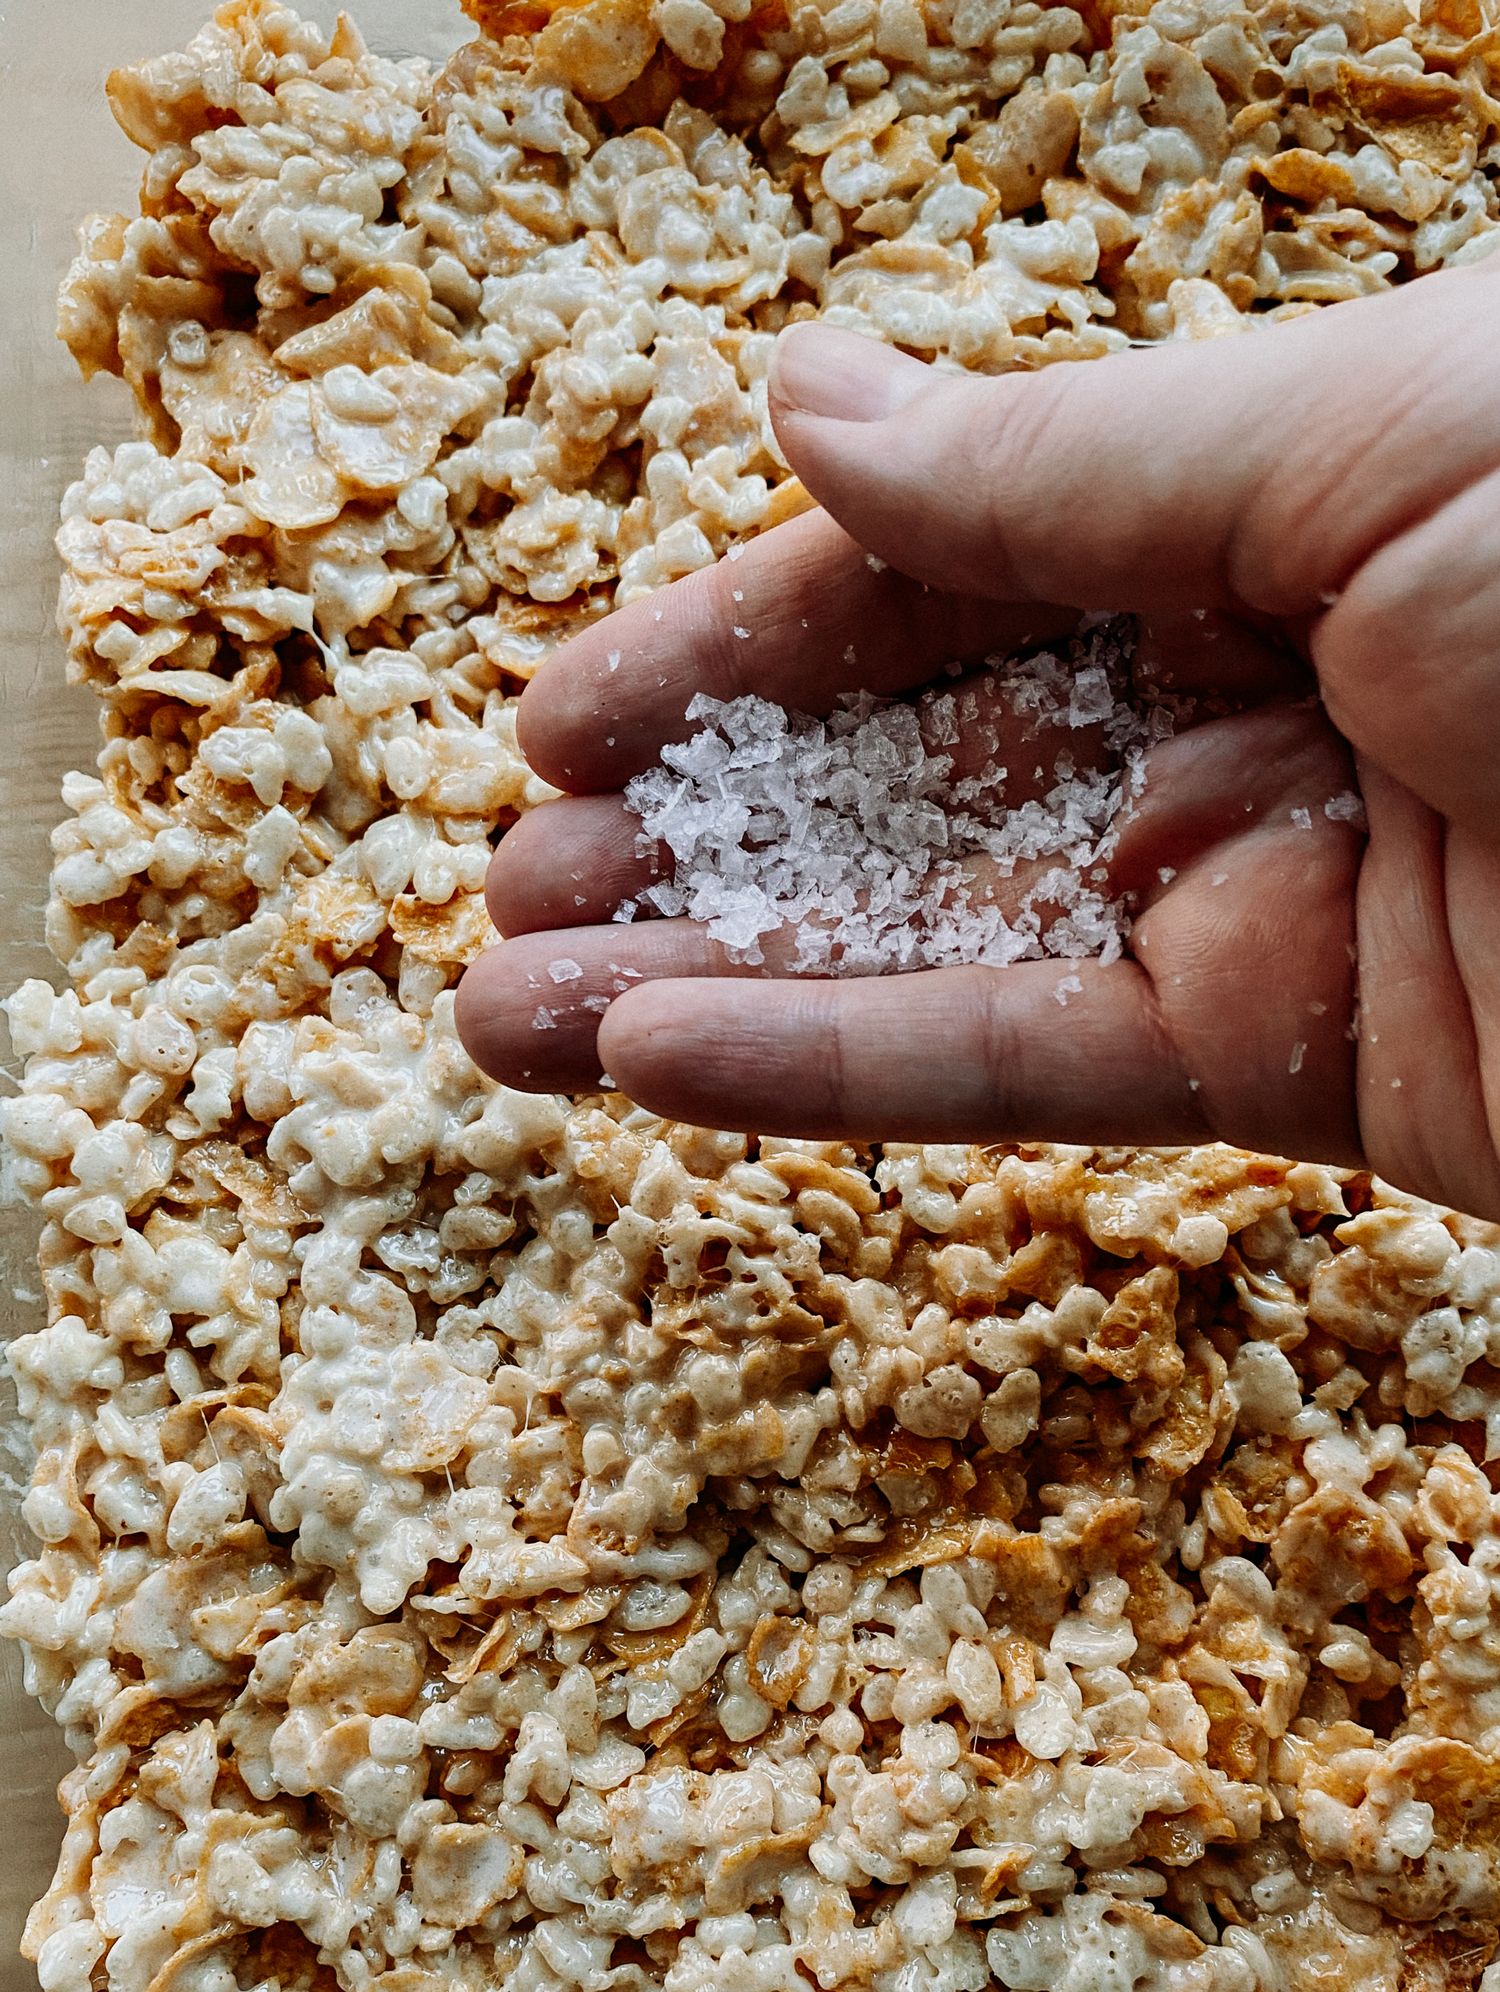
Let's talk salt for a minute
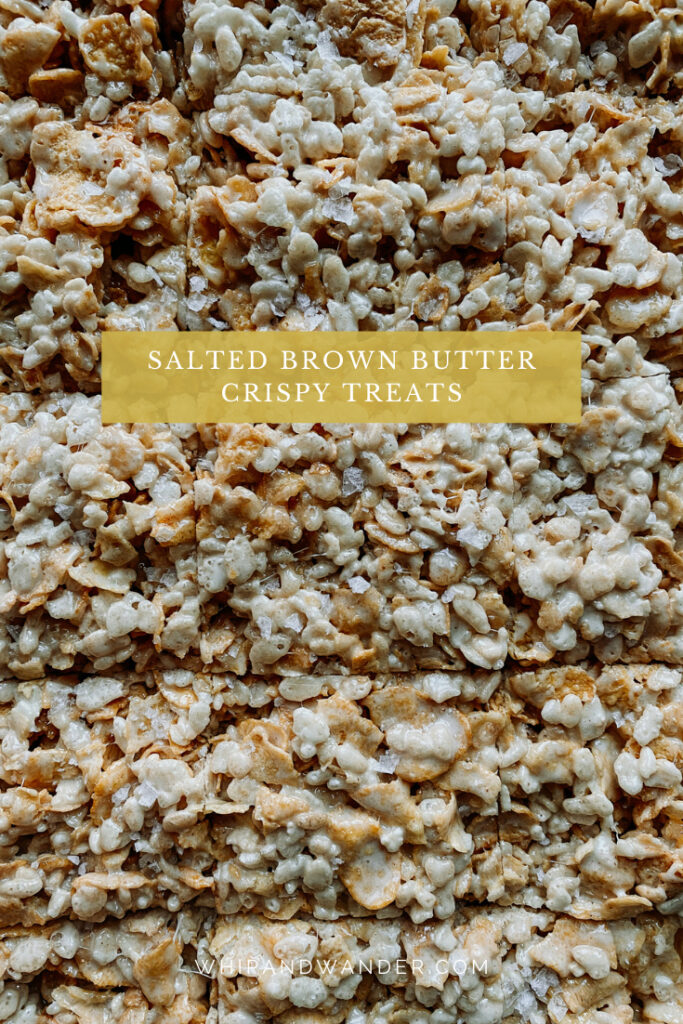
I specify coarse ground Kosher salt and flaky sea salt for this recipe. Kosher salt has a clean, light taste compared to traditional table salt, making it a good choice for the salted brown butter base. Diamond Crystal is my preferred Kosher salt. I also like to finish this treat with a sprinkle of flaked sea salt because it has a lovely crunchy texture. Both Maldon Sea Salt Flakes and Jacobsen Pure Flake Finishing Salt are great options for this. If you would prefer to use sea salt in the brown butter instead of Kosher salt you can, but you'll want to use a more finely ground version so that it melts into the butter properly and salts more accurately according to the measurement.
What size of marshmallows should I use?
You can use mini marshmallows or standard/large marshmallows for this, but make sure that you're using the appropriate weight in oz. of marshmallows as they will measure much differently when you use volume/cup measurements. This recipe calls for 24 oz of marshmallows, which is generally 2 (12 oz) bags, depending on the brand. Larger marshmallows can take a little bit longer to melt than mini marshmallows, but I end up using the larger size more often just based on availability and preference.
Pro-tip for easy pan greasing and crispy treat pressing
I like to reserve my butter wrappers for easy pan greasing as they contain just enough butter to wipe the pan before adding the crispy treats. They also work well to help you press the warm crispy treats firmly into the pan as they are less likely to stick to the treats than a wooden spoon or rubber spatula.
WHAT TOOLS DO I NEED TO MAKE THIS RECIPE?
- A 9 x 13-inch casserole pan
- A large cooking pot
- Measuring cups
- Measuring spoons
- A rubber spatula
Are you looking to upgrade to your cooking tools or replenish your pantry? Check out my kitchen tools shop page and pantry staples shop page to find my must-have kitchen tools, pantry items, and other Whip & Wander favorites.

Salted Brown Butter Crispy Treats
- Prep Time: 10 minutes
- Cook Time: 10 minutes
- Total Time: 20 minutes
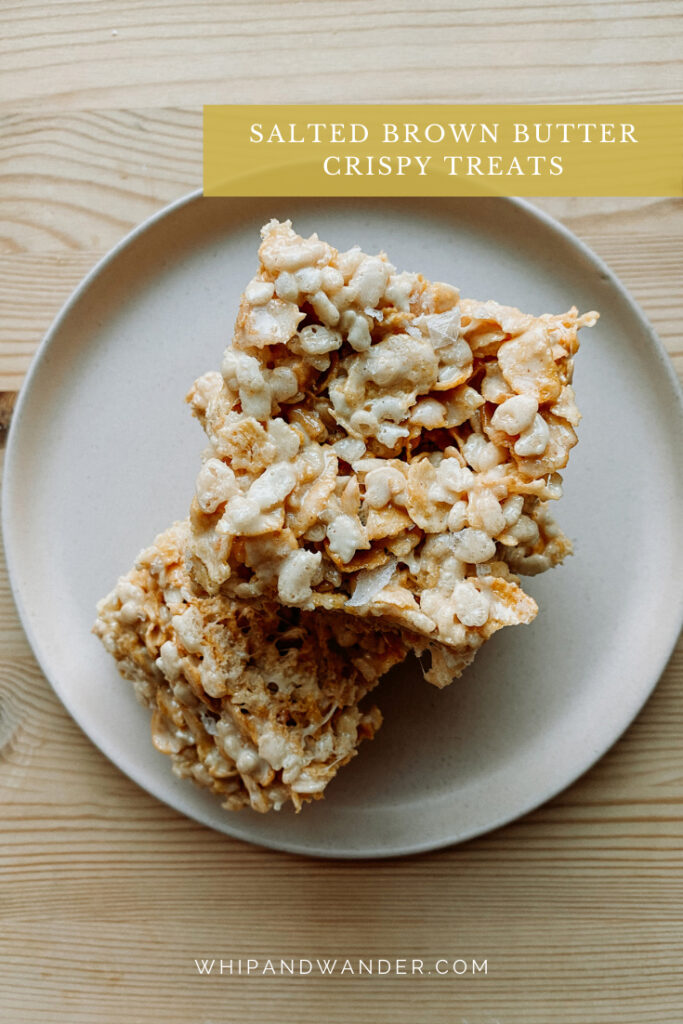
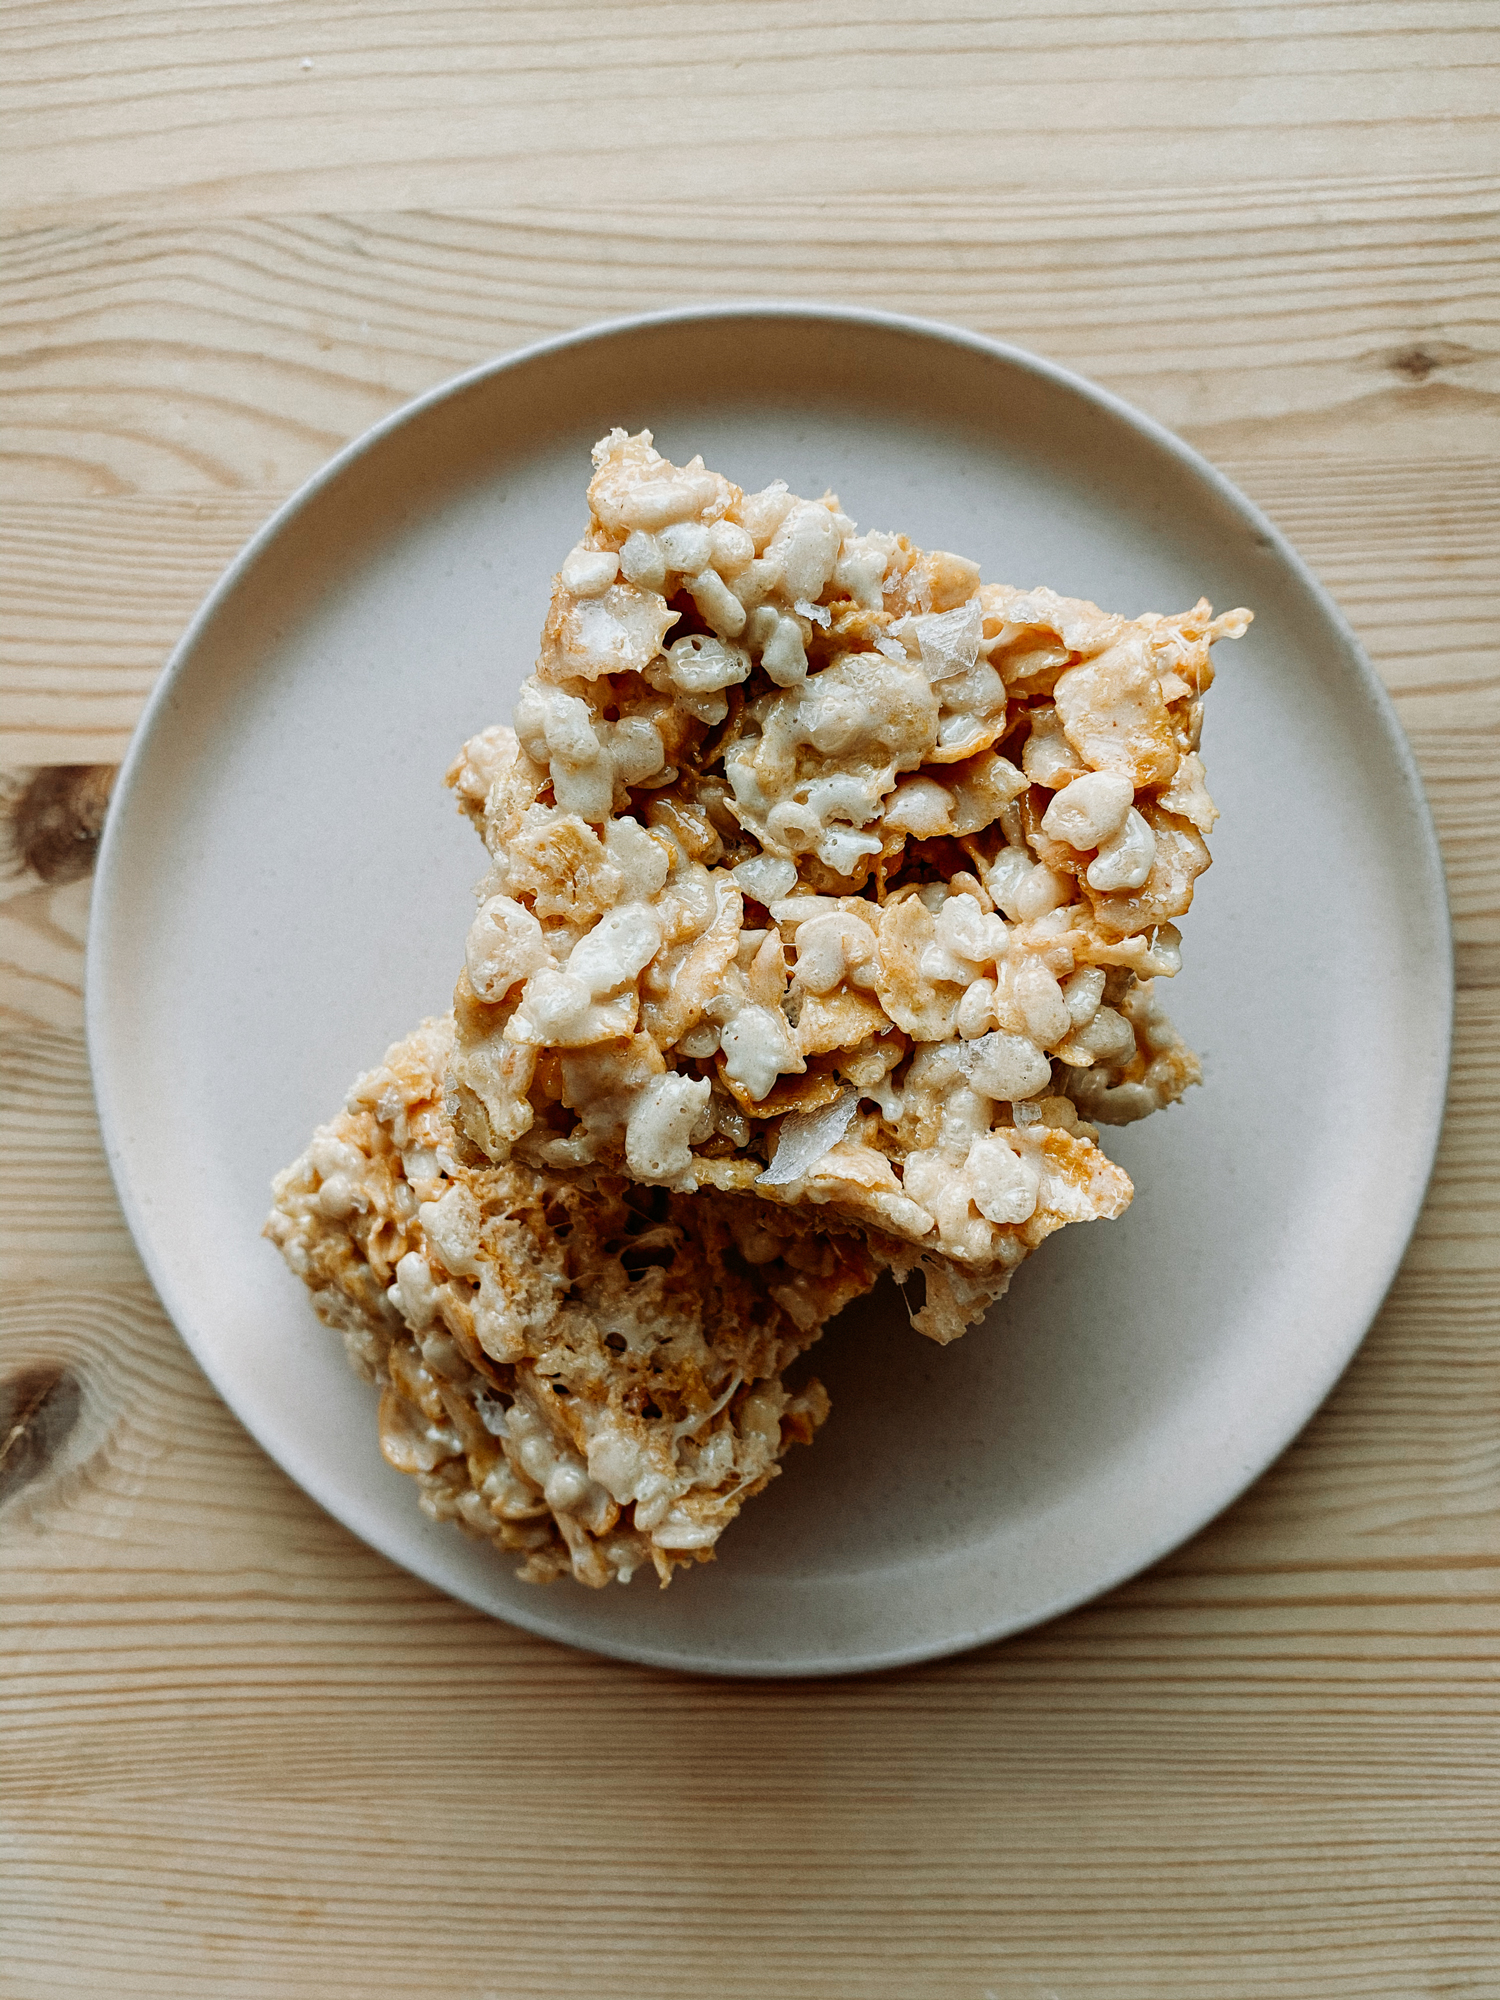
- Yield: 15 squares 1x
- Category: Desserts
- Method: Stovetop
- Cuisine: American
Description
These Salted Brown Butter Crispy Treats utilize both rice crisp cereal and cornflakes mixed with a salted brown butter and marshmallow base.
Ingredients
- ¾ cup (6 oz) unsalted butter
- ½ tsp Kosher salt
- 2 (12oz) bags marshmallows
- 5 cups rice crisp cereal
- 5 cups cornflakes
- ½ tsp flaked sea salt
Instructions
- Grease a 13 x 9-inch casserole dish with butter and reserve to the side.
- In a large pot, melt butter over medium heat, stirring regularly. The butter will foam at first, then as the foam dissipates it will begin to turn golden and eventually brown and nutty-scented. Watch the butter closely because it can quickly turn from brown to burnt.
- When the butter begins to brown, remove from heat briefly and add the salt, stirring well to combine, then the marshmallows, stirring to combine. This allows the marshmallows to partially melt into the salted butter, which helps prevent the butter from burning when you return the pan to heat.
- Return the partially melted marshmallow and salted butter mixture to medium heat, stirring constantly until fully-melted.
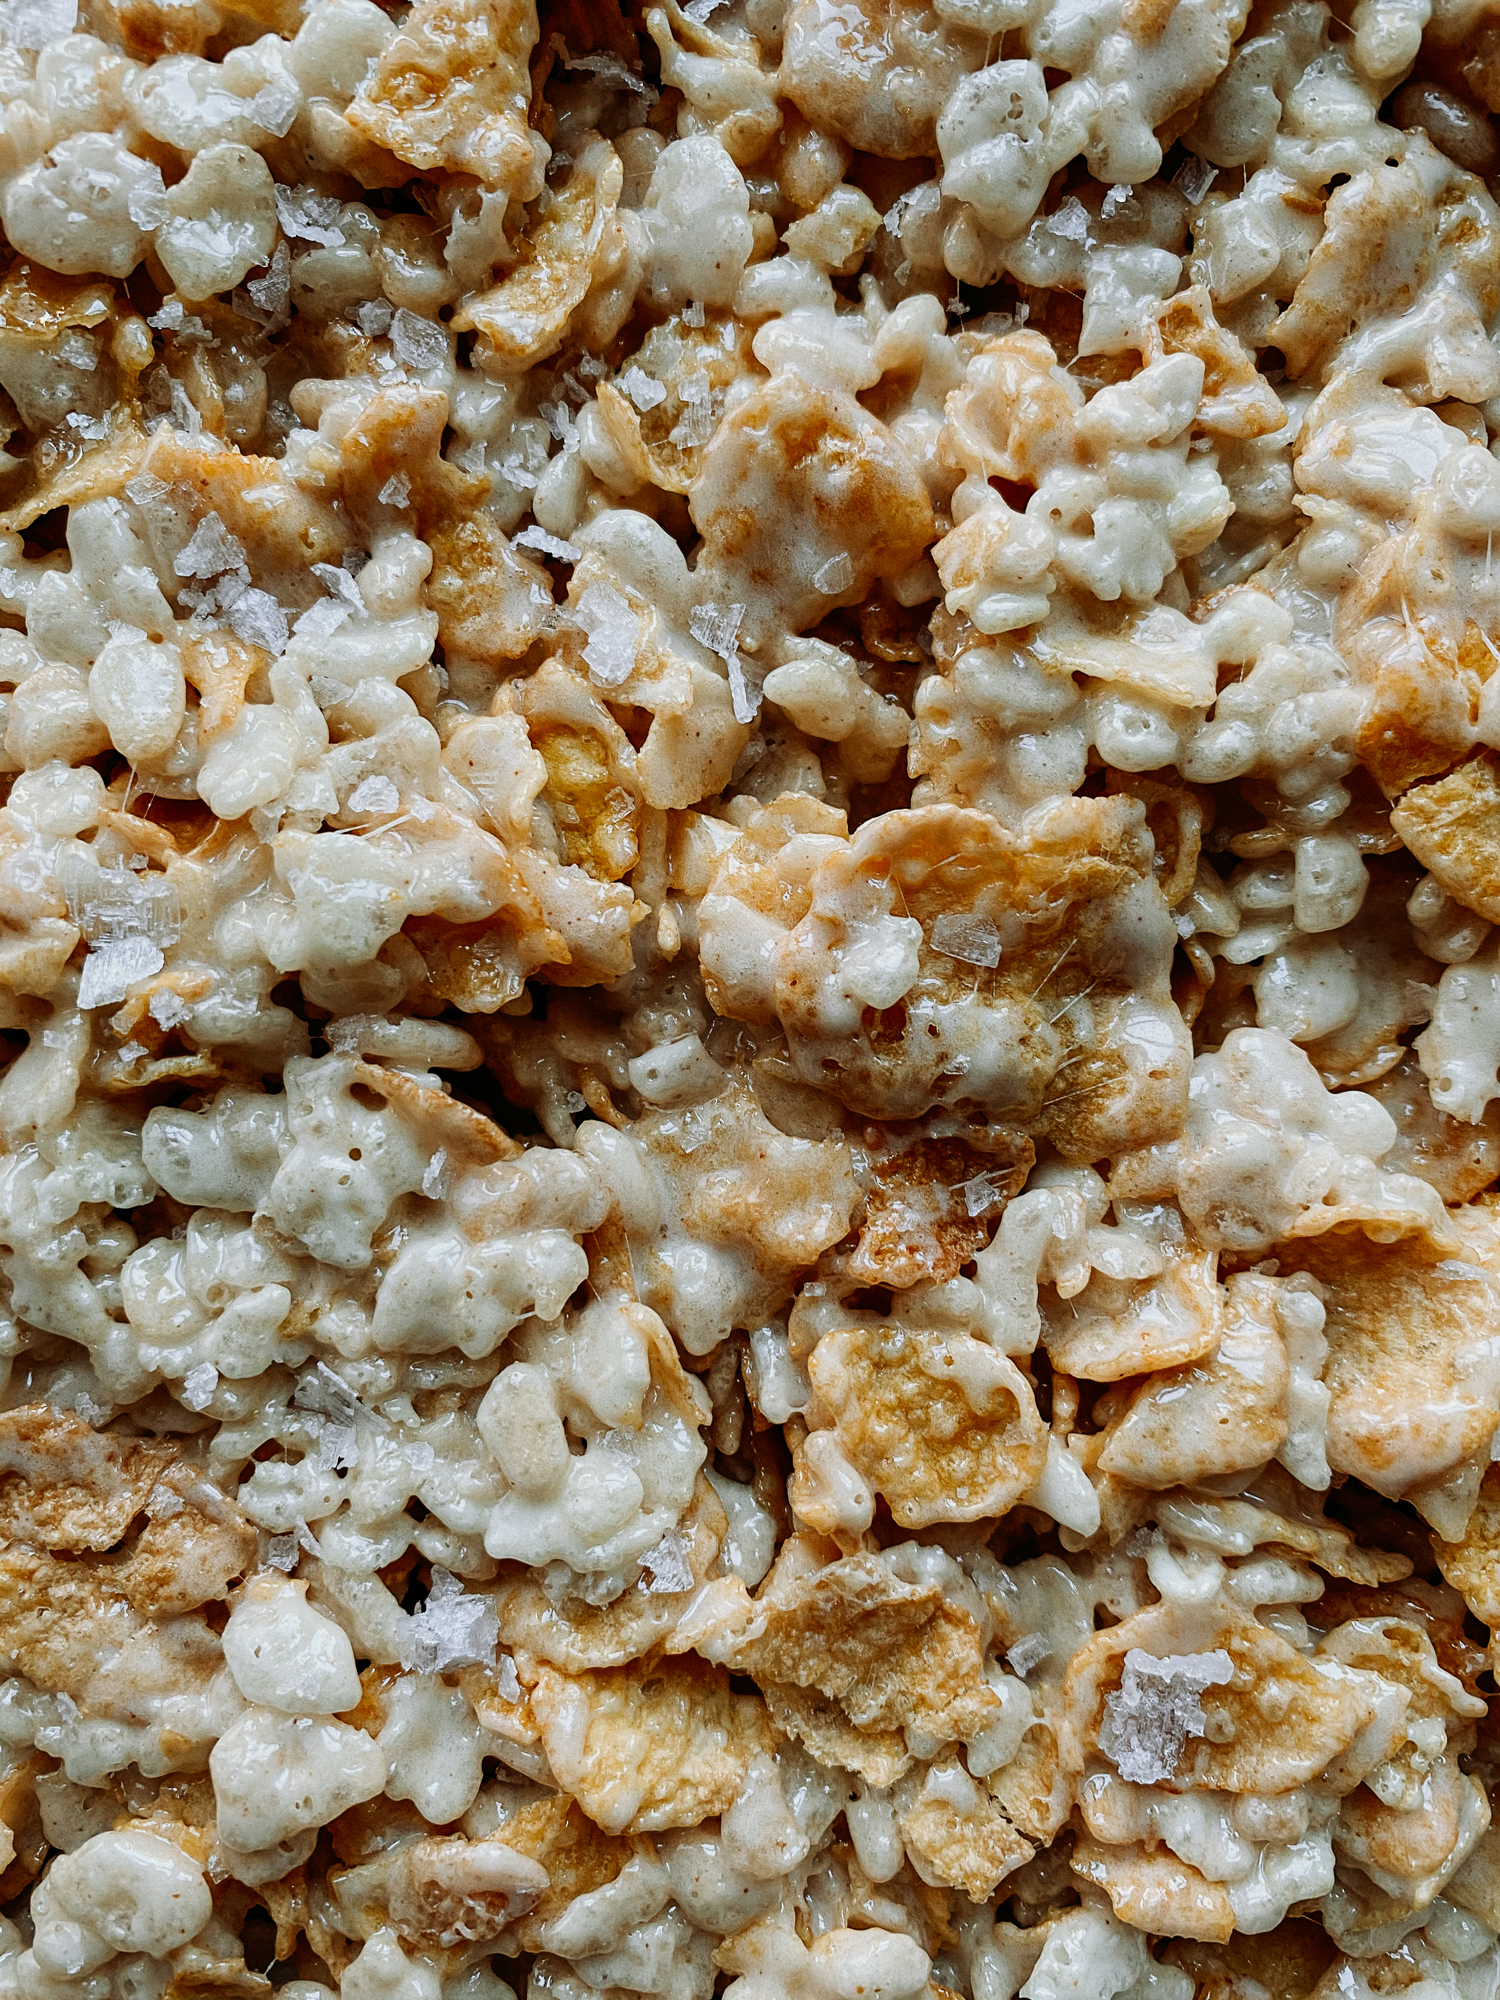
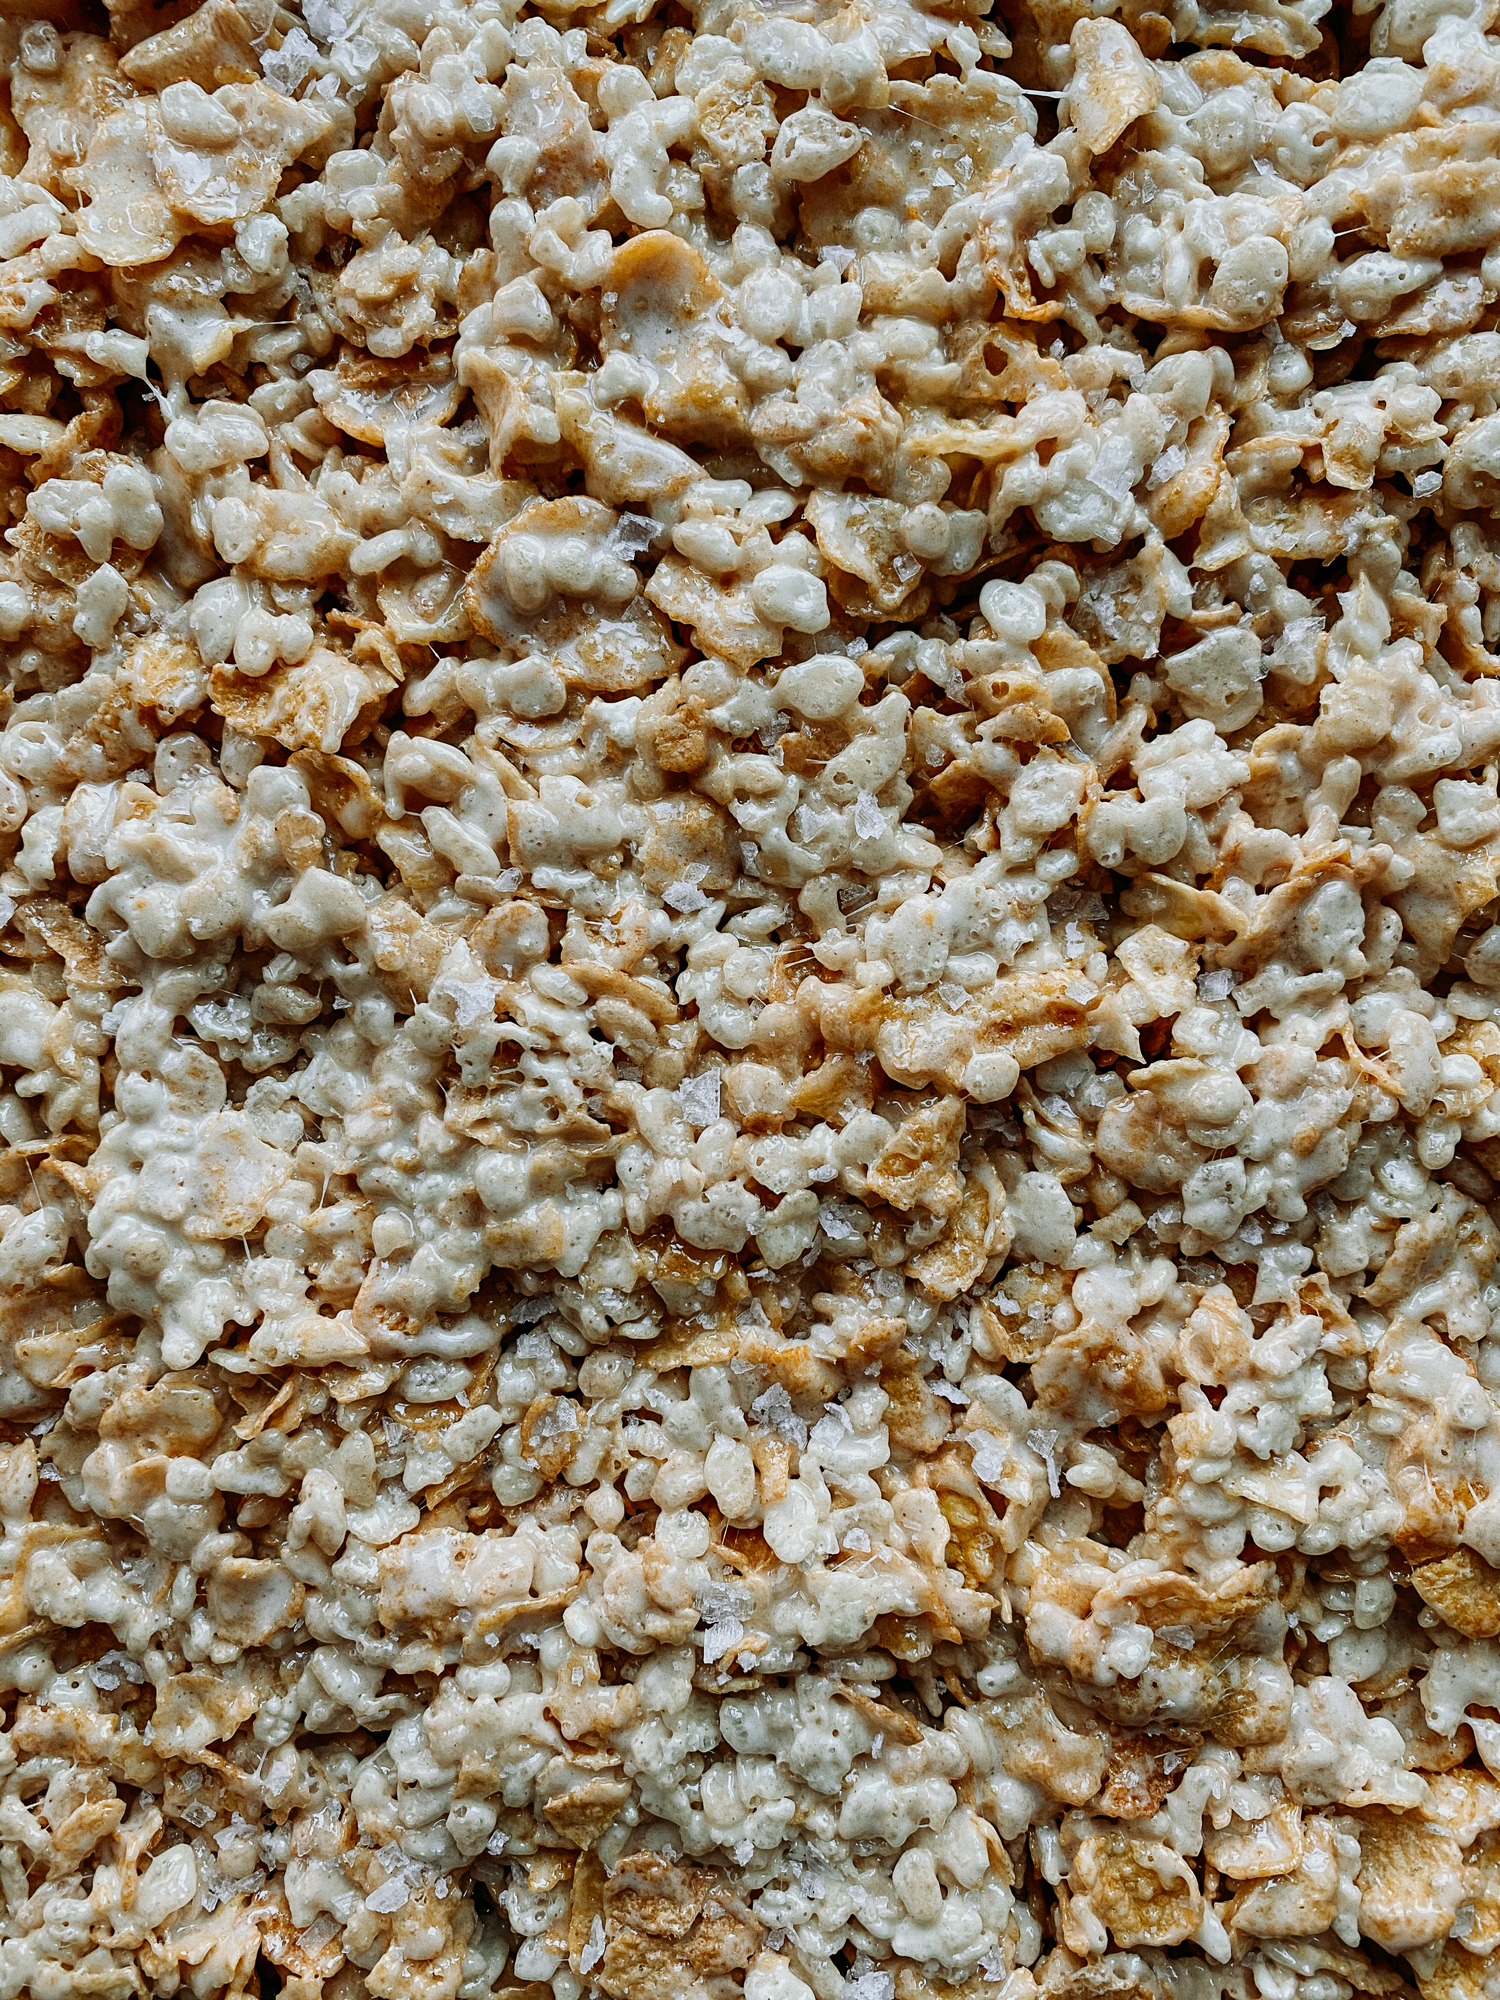
- Turn off heat, add both cereals, and fold together until combined fully.
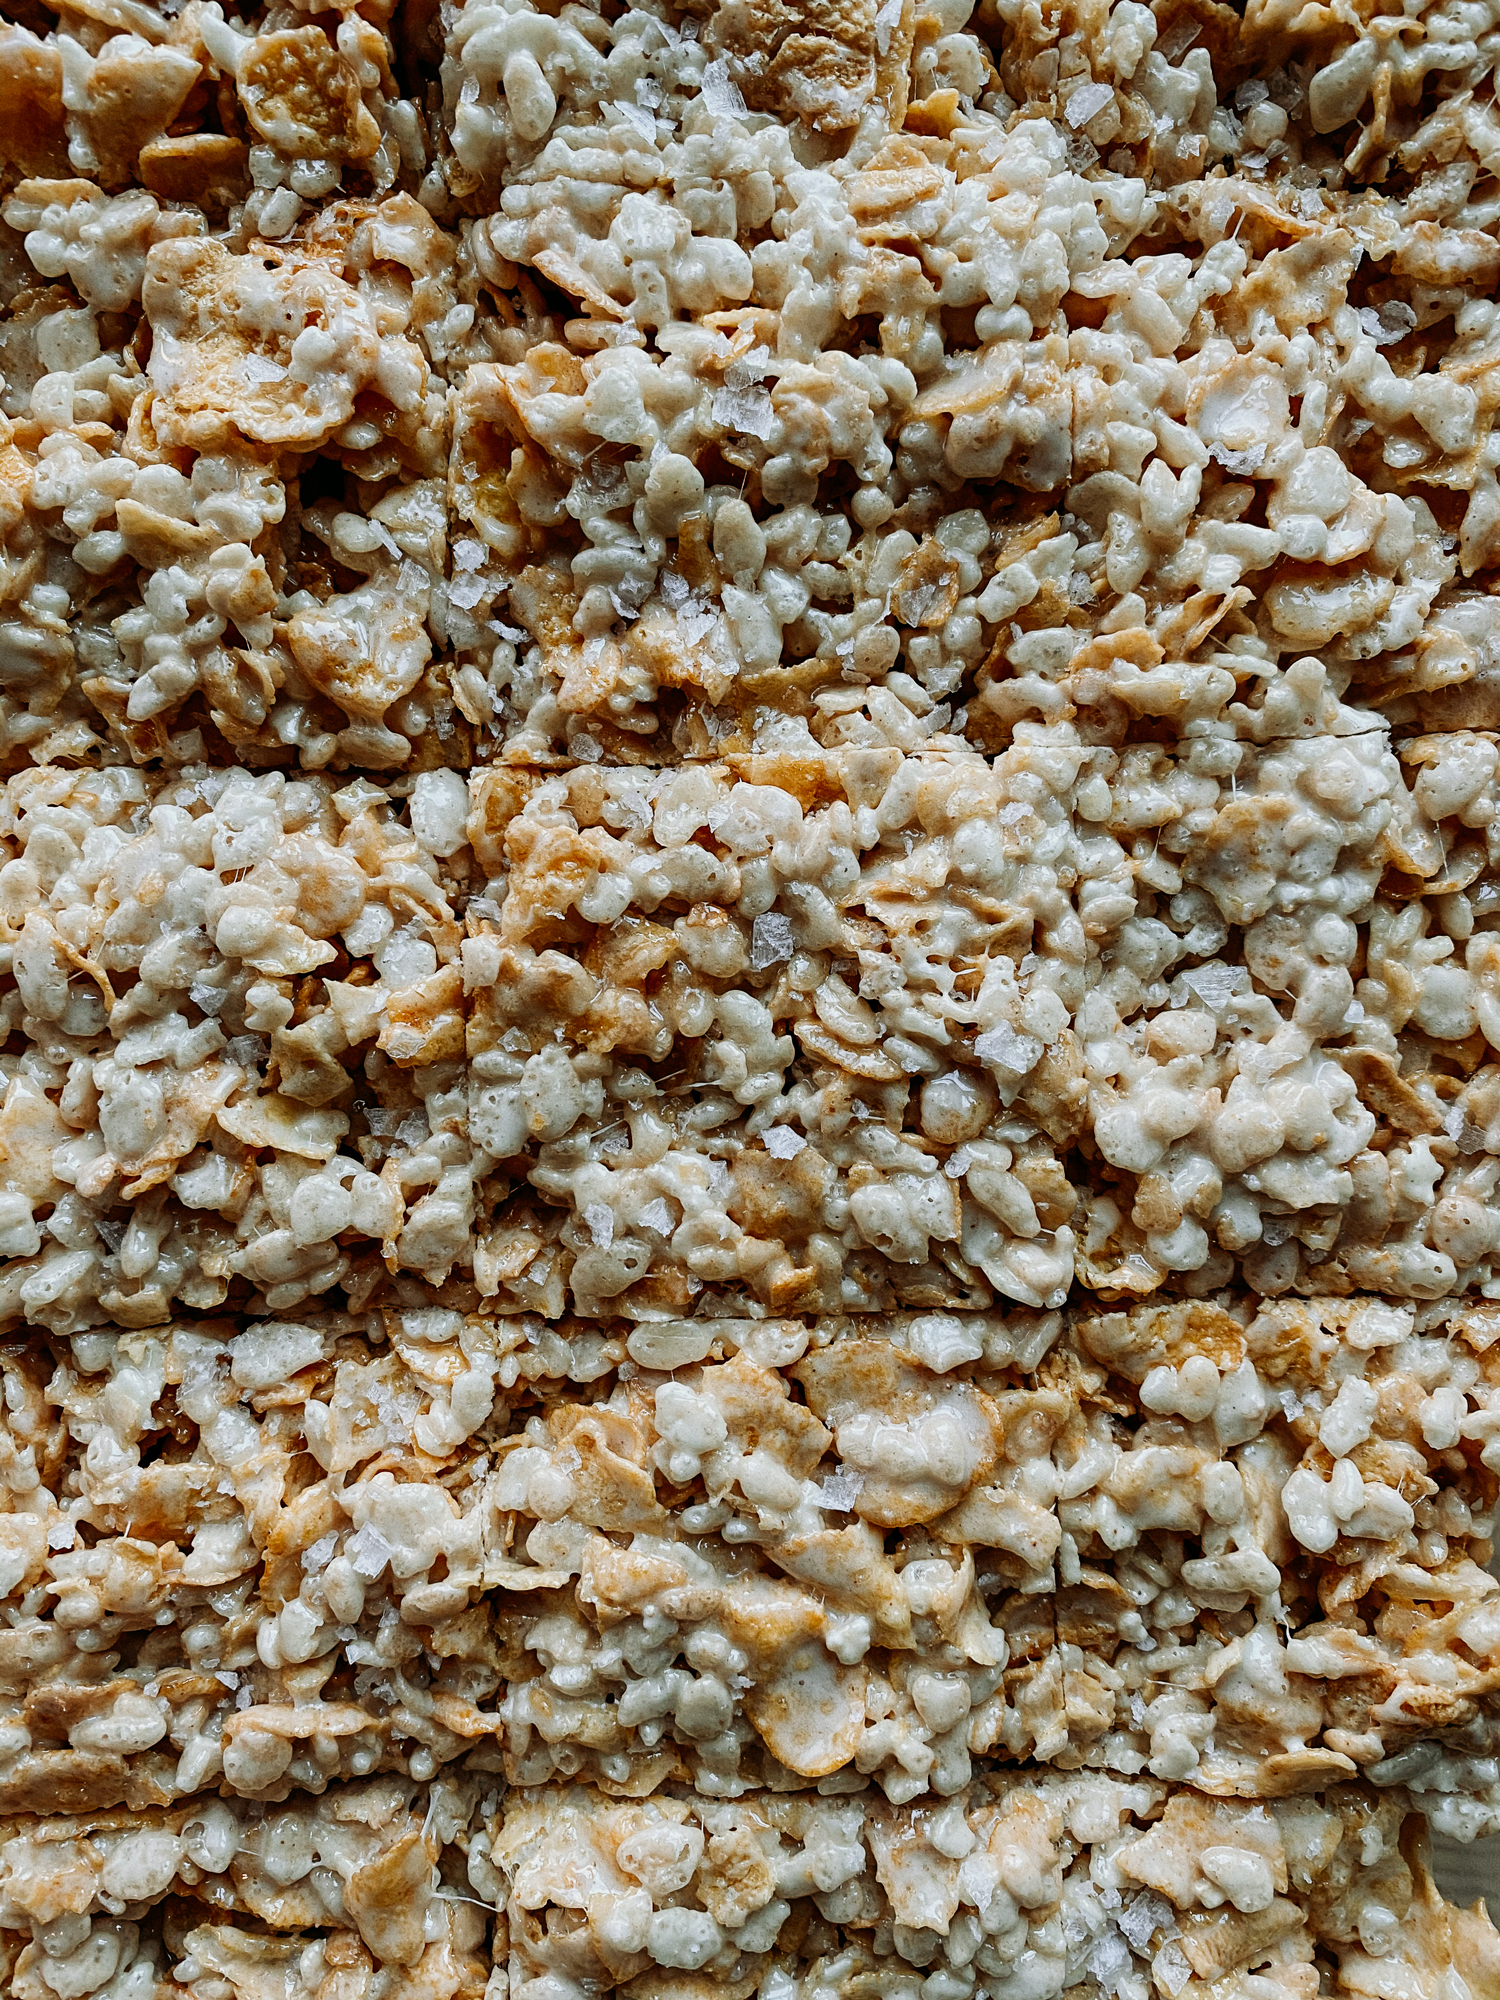
- Transfer treat mixture to the reserved casserole dish, pressing down with the spatula, a butter wrapper, or piece of parchment paper until firmly packed. Sprinkle with flaked sea salt while still warm, then allow to cool to room temperature and slice into 15 squares.
Notes
Nutritional information on Whip & Wander is provided as a courtesy and is approximate only. We cannot guarantee the accuracy of the nutritional information given for any recipe on this site.
Nutrition
- Serving Size: 1 square
- Calories: 308
- Sugar: 29 g
- Sodium: 282 mg
- Fat: 10 g
- Saturated Fat: 6 g
- Carbohydrates: 55 g
- Fiber: 1 g
- Protein: 1 g
- Cholesterol: 24 mg
Heather H says
Super addictive! Perfect salty sweet treat! Everyone loved them!
Jenni says
Heather, So glad to hear they were a hit! That salty-sweet combo is seriously addictive—thanks so much for making them and taking the time to leave a note!
Brooke S says
If I could give this recipe infinity stars, I would. These are so good. I will never make crispy treats another way. 1,000% worth the effort of browning the butter. Don’t sleep on these!
Jenni says
Thank you so much, Brooke! I totally agree, browning the butter is well-worth the effort because it imparts so much flavor!